
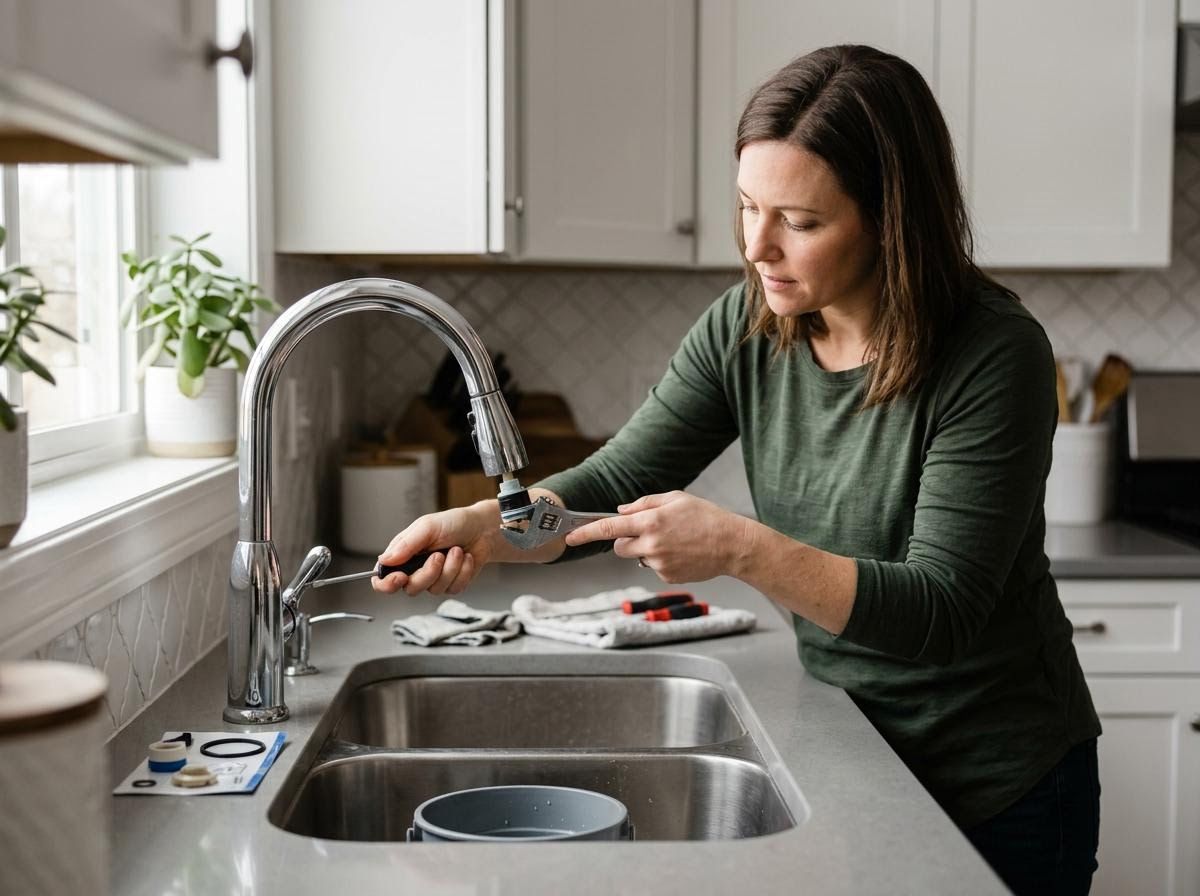
A persistent drip from your faucet can be more than just an annoyance; it can waste significant amounts of water and even lead to higher utility bills over time. Addressing a leaky faucet promptly is a smart move for any homeowner, and with Dr. Rooter, we believe in empowering our customers with the knowledge to tackle common household issues. This guide will walk you through the basics of identifying and potentially fixing a leaky faucet, providing you with a clearer understanding of your home's plumbing.
Understanding the Common Culprits Behind Leaks
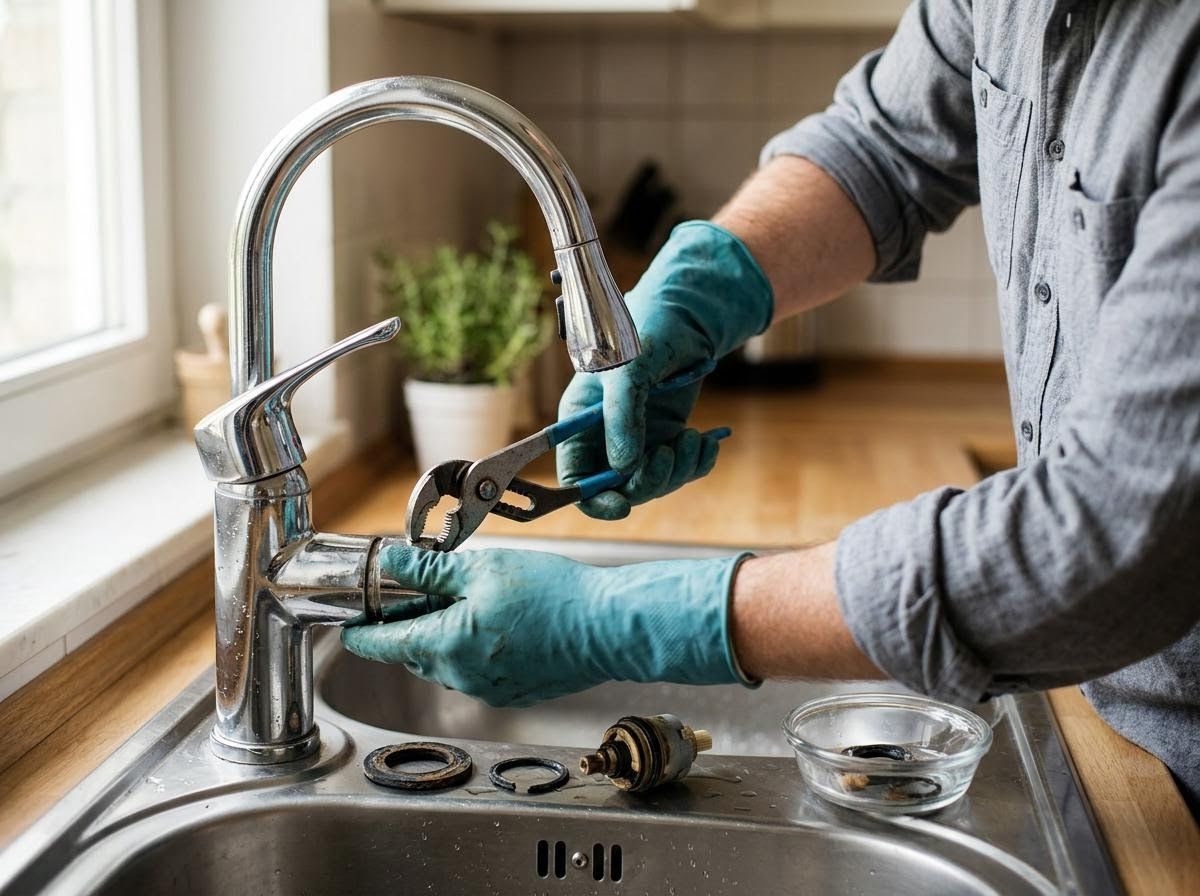
Before you can fix a leaky faucet, it helps to understand why it's leaking in the first place. Most faucet leaks stem from worn-out internal components. In compression faucets, the rubber washers that create a watertight seal often wear down or become brittle over time, leading to drips. Cartridge faucets, on the other hand, rely on a sealed cartridge that controls water flow; if this unit cracks or wears out, leaks can occur. Other common culprits include worn O-rings in disc or ball faucets, loose packing nuts, or corrosion within the faucet body itself. Identifying your faucet type can often guide your repair strategy.
Essential Tools for the Job
Tackling a leaky faucet doesn't require a professional's toolkit, but having a few basic items on hand will make the process much smoother. You'll likely need an adjustable wrench, a screwdriver (flathead and Phillips, depending on your faucet), replacement washers or O-rings (it's wise to have a variety pack or consult your faucet's manual for specific sizes), plumber's grease, and a utility knife or flat blade for removing old components. Always remember to have a rag or towel ready to catch any residual water.
A Step-by-Step Approach to Repair
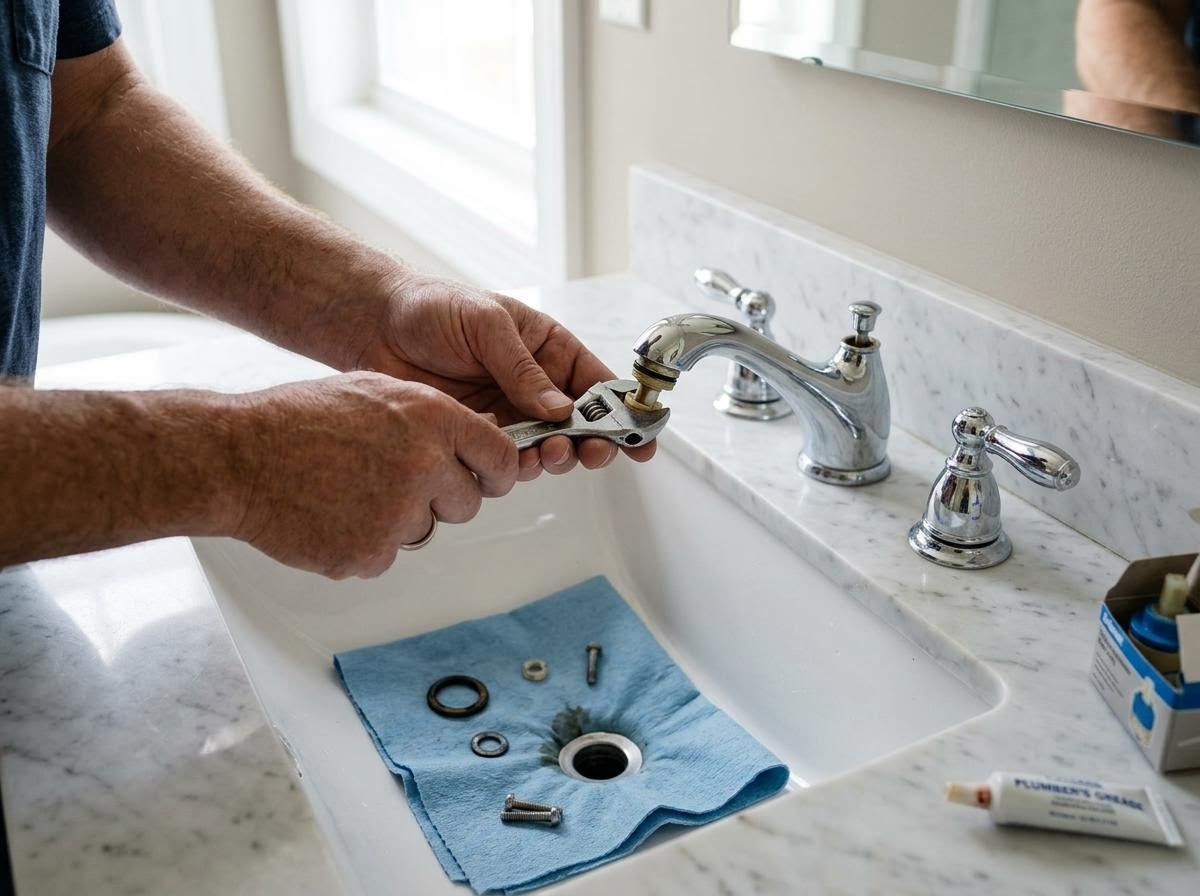
While faucet designs vary, a general approach can be applied to many common types. First, and most crucially, turn off the water supply to the faucet. This is usually done via the shut-off valves located directly under the sink; if not, you'll need to turn off the main water supply to your home. Next, cover the drain with a cloth or stopper to prevent small parts from falling. Carefully disassemble the faucet handle and components, paying attention to the order in which they were removed. Inspect washers, O-rings, and cartridges for signs of wear, corrosion, or damage and replace any faulty parts. Apply plumber's grease to new O-rings for a better seal. Reassemble the faucet in reverse order, being careful not to overtighten components, then slowly turn the water supply back on and check for leaks.
Knowing When to Call an Expert
While many minor faucet leaks can be a satisfying DIY project, there are times when professional expertise is invaluable. If your faucet is an older or unusual model for which parts are difficult to find, or if the leak persists after your attempts at repair, it might be time to call in the professionals. Complex issues like cracks in the faucet body, stripped threads, or problems within the wall behind the faucet often require specialized tools and experience to diagnose and fix correctly without causing further damage.
Addressing a leaky faucet proactively can save water, money, and prevent potential water damage in your home. While many simple repairs are within a homeowner's grasp, it's reassuring to know that expert help is available for those more stubborn or complex plumbing challenges. For comprehensive solutions and peace of mind regarding any plumbing concern, explore the resources and services available on our website to ensure your home's systems are running smoothly.